Navigate BIM Models
This section talks about how to upload, manage, and view BIM models.
Upload Models
Click the UPLOAD MODEL button on the left menu to open up the dialog.
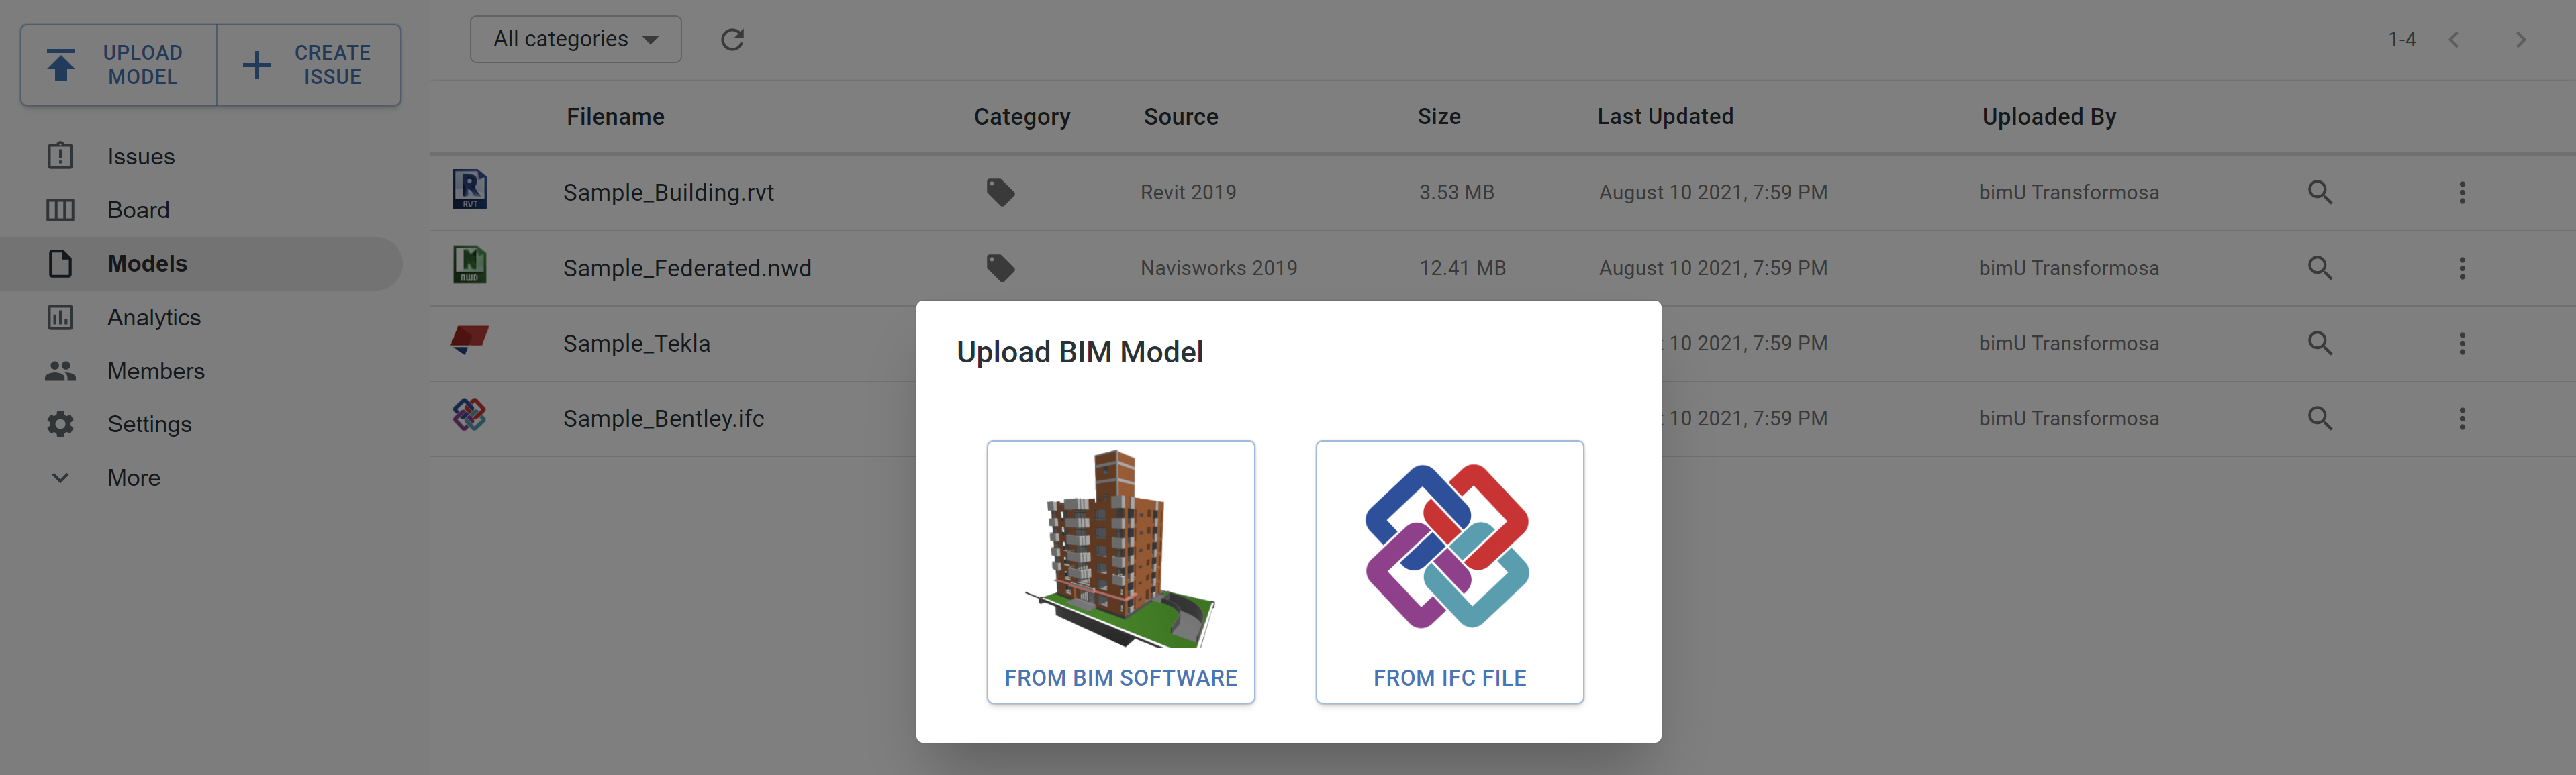
There are two ways to upload your BIM models:
- Upload from BIM Software: Uploading from a model view within BIM software gives you more control of how it looks like on bimU.io Agile. What You See Is What You Get (WYSIWYG). Make sure you have bimU.io Launcher installed before uploading a model.
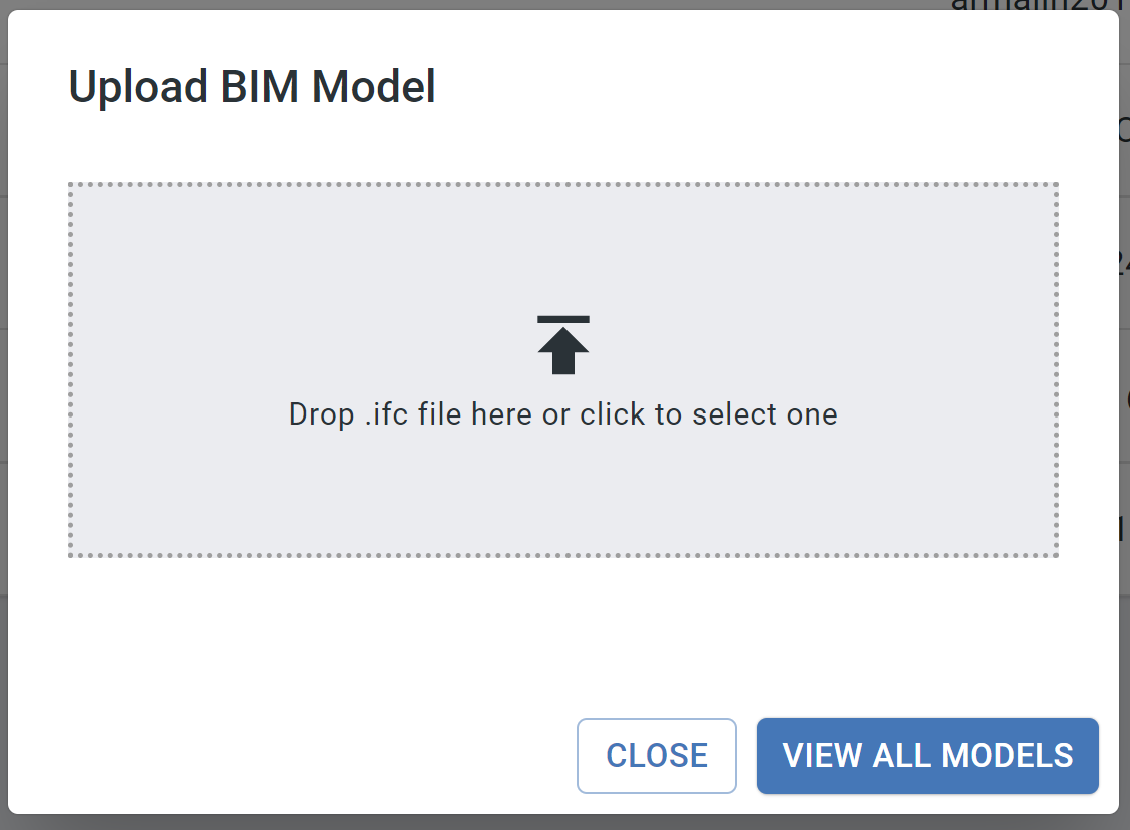
- Upload IFC files: The industry standard IFC (Industry Foundation Classes) format is also supported. Most BIM modelling tools can export to an IFC file. You can then upload it to bimU.io Agile directly.
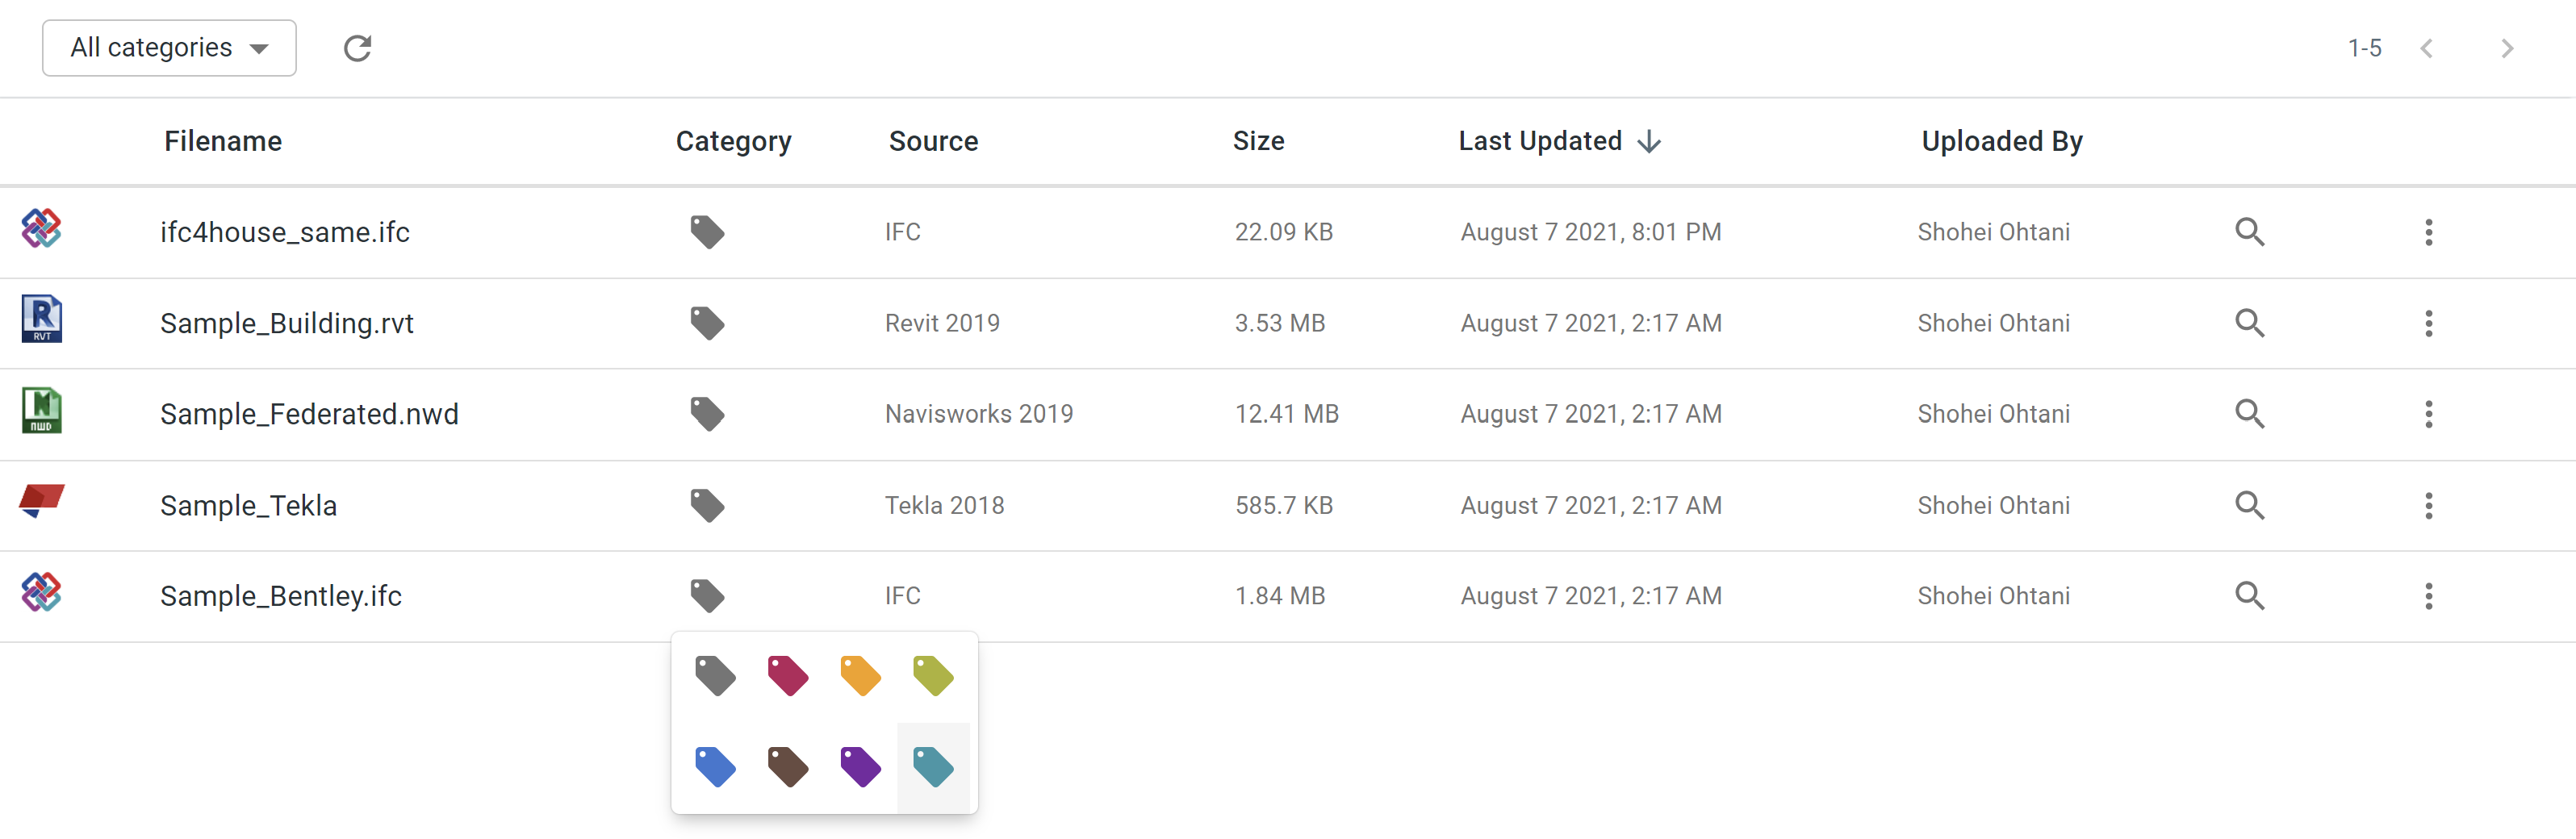
Manage Models
You can find all uploaded models on the Models page. Click the button in the Category column and select a colour to put a model into a different category. You can then use the filter to find your models more quickly. To rename or delete a model, you can find the options from the three dot menu.
Use Web Viewer
bimU.io Agile's 3D viewer is web-based, which means that it is cross-platform and can be used on any device as long as you have a WebGL-enabled browser installed. Use the latest version of Google Chrome to achieve the best performance.
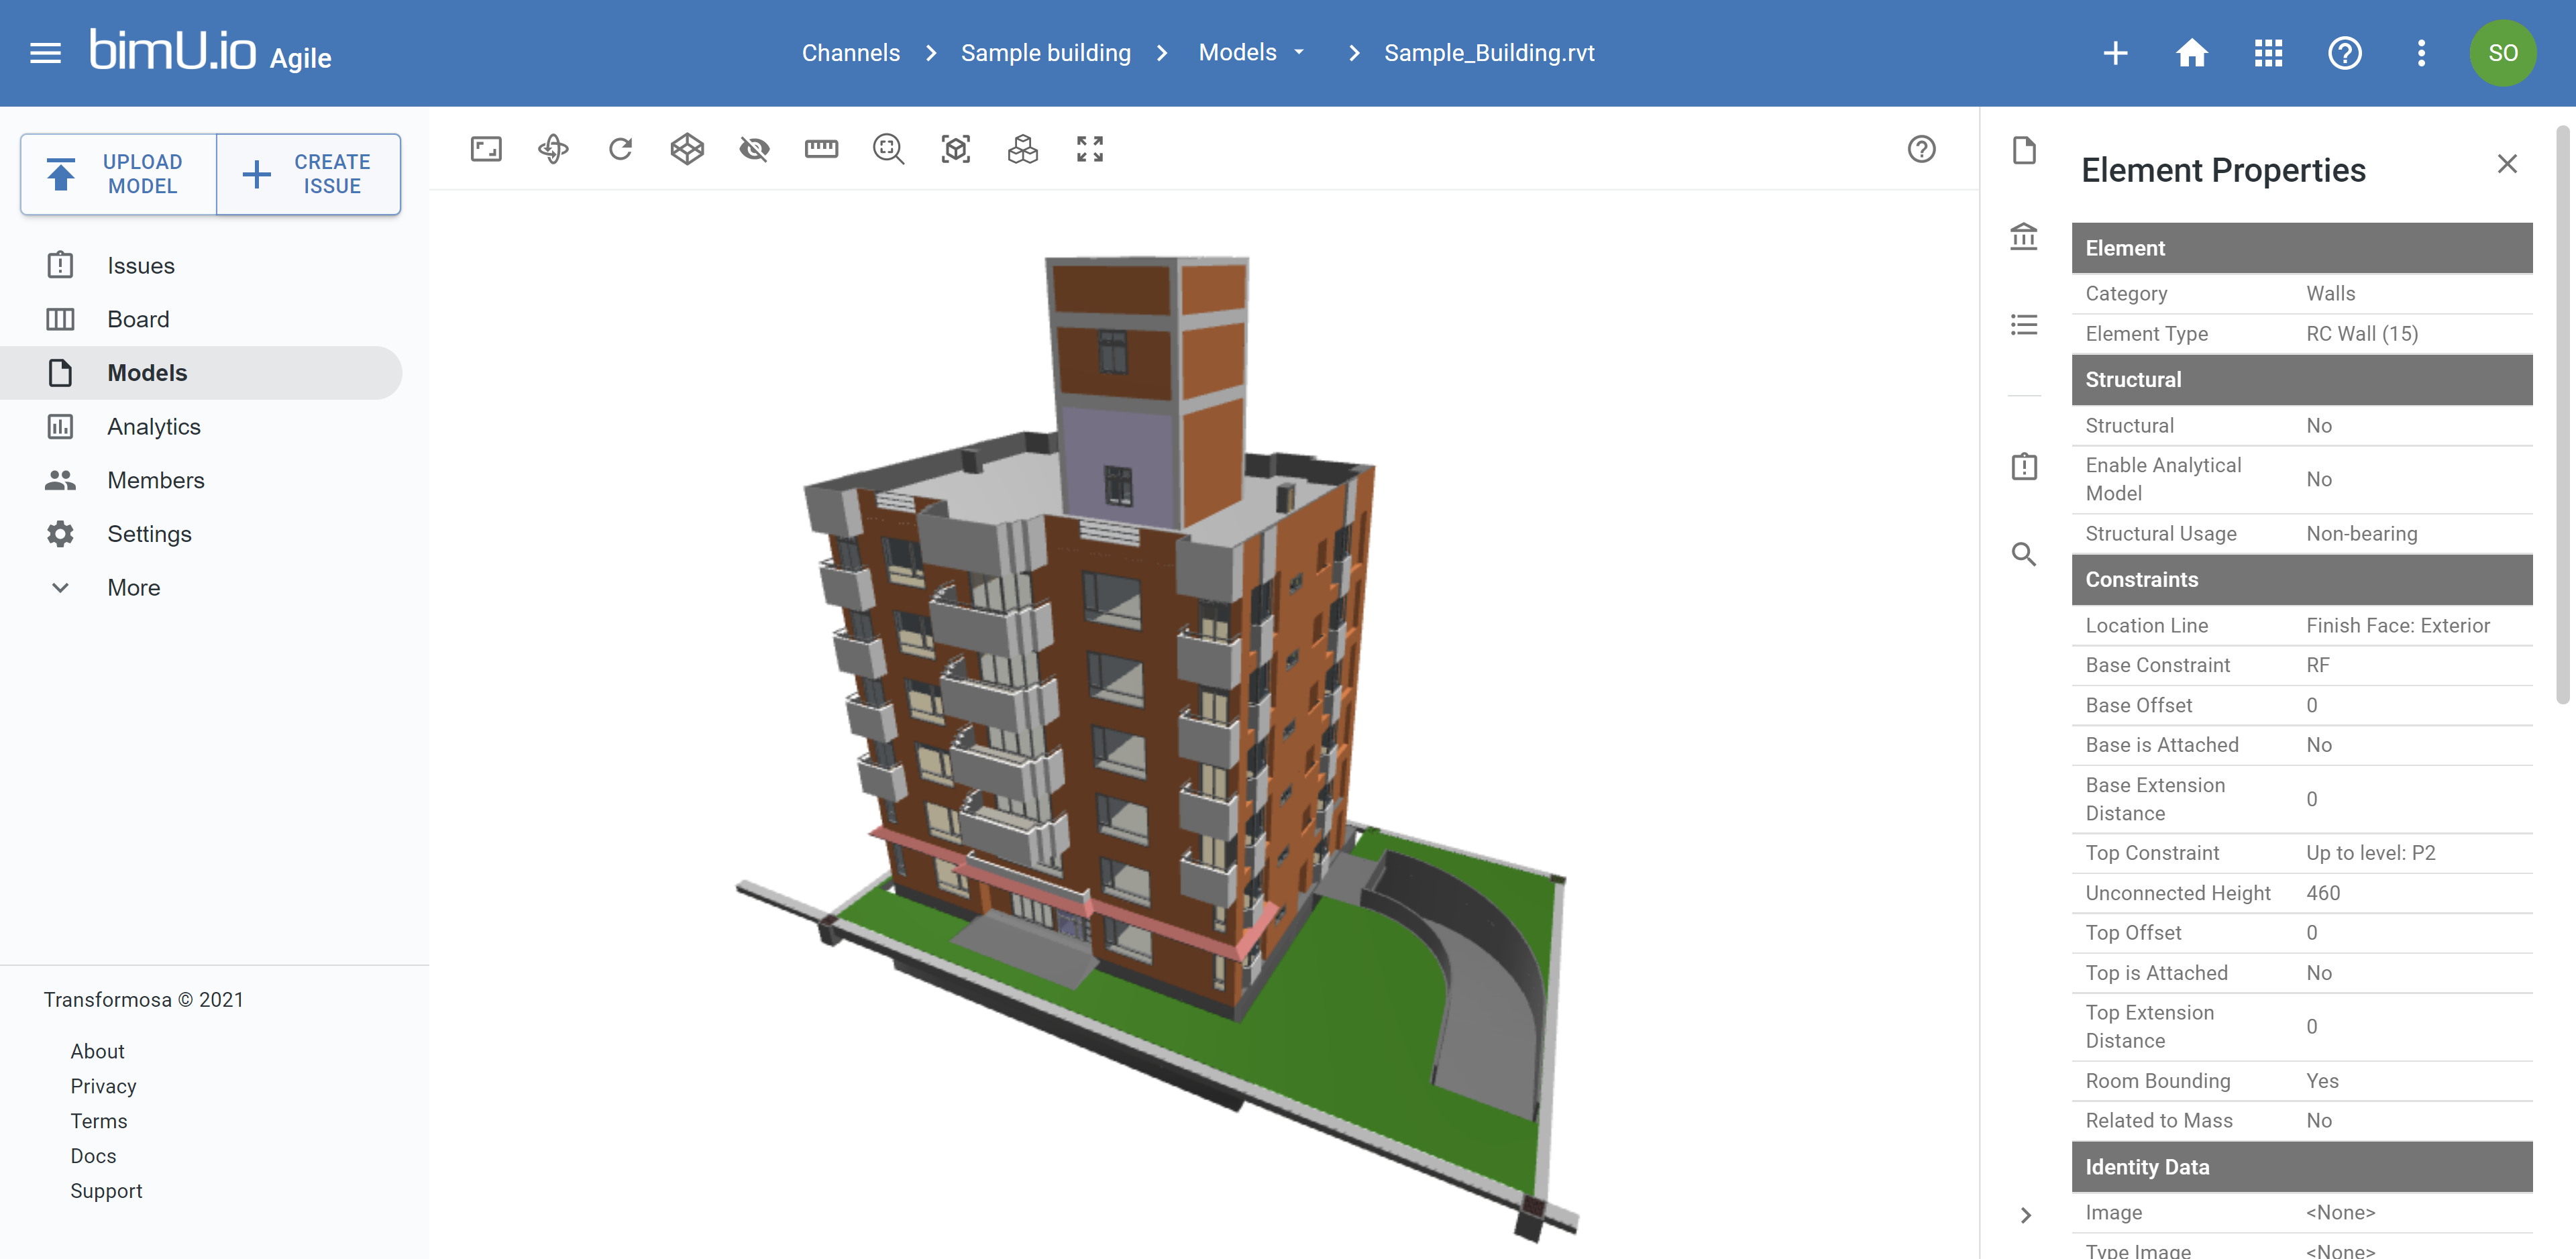
Click on a model filename or the magnifier button to enter the web viewer. There are a number of navigation tools in the horizontal toolbar.
Basic Viewer Controls
You can control the camera with the following tools to view the 3D scene from different perspectives.
- Orbit: The orbit tool allows you to rotate the camera around your model by using
left mouse dragon desktop orone finger swipeon mobile devices. The camera will orbit around the centre of current selection or the previous zoom target. - Pan: The pan tool allows you to move the camera vertically or horizontally by using
mouse wheel dragorright mouse dragon desktop ortwo-finger scrollon mobile devices. - Zoom: The zoom tool allows you to zoom in to focus on a specific area or zoom out to see more of your model by using
mouse wheel scrollon desktop ortwo-finger pinchon mobile devices. The zoom speed will decrease gradually as the camera gets closer to the zoom target.
Specfic Camera Viewpoints
You can use the following tools to set camera viewpoint to specific areas you want to see.
- Fit to View: This tool fits the entire model into the current viewport. It is particularly useful when you get lost in the 3D scene.
- Zoom to Selection: This tool fits the selected elements into the current viewport to focus on them. You can use this tool if a target is too far or too close to zoom.
- Rotate View: This tool can view your model from all sides of the bounding box, including top, bottom, front, back, left, and right.
Section Cut
You can enable sectioning to slice your model to view more details inside. To disable sectioning, use the Reset Visibility tool.
- Section Box: This tool cuts model geometry by a rectangular box. The six edges of the section box can be adjusted using the grips.
- Section around Selection: This tool creates a section box around the selected elements. Then you can expand it to view the adjacent area.
Model Elements
- Select Elements: Use
left mouse clickto select a model element.Shift + Left clickto select multiple elements. - Hide Elements: This tool hides the selected elements. You can use the Reset Visibility tool to unhide them.
Other Viewer Capabilities
- Reset Visibility: This tool unhides all hidden elements and disables sectioning.
- Measuring Tool: A few different measurement tools are available, such as reporting coordinates, measuring distance, height, angle, area, etc.
- Toogle Fullscreen: This tool presents the entire viewport of the 3D viewer in browser's fullscreen mode.
- Toggle Camera Projection: This tool can switch the camera between perspective and orthographic projection.
Data Panels
There is also a vertical toolbar on the right-hand side where you can open the panels below to view relevant data.
- File Properties Panel: View file properties, such as model source, file size, timestamp, etc.
- Model Metadata Panel: View document-level metadata, such as project details, location, coordinate system, other BIM software specific metadata, etc.
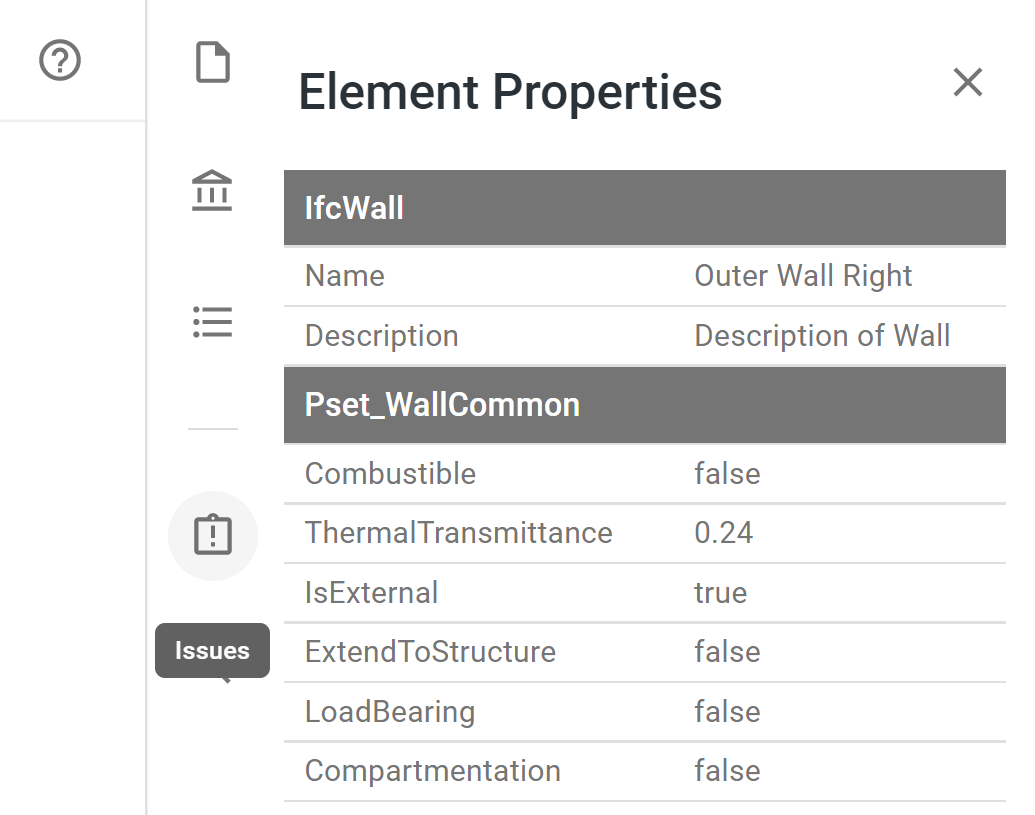
- Element Properties Panel: View all properties of a selected element. A property can be a
Revit Parameter, aNavisworks Property, aTekla Attribute, or anIfcPropertySingleValue. - Issues Panel: View all issues in the current channel.
- Search Elements Panel: Search model elements by a certain condition, e.g. find all elements having the same property value.